Discord AI Bot Setup: A Beginner-Friendly Walkthrough
2026-08-28

You can get an AI chatbot running on your Discord server quickly by creating a Discord application, enabling two privileged intents, generating an OAuth2 invite with minimal permissions, and pairing the bot token to an agent runtime like OpenClaw. Discord's own Developer Portal quick start covers the platform side, and a managed service like ClawBase handles the pairing and hosting side without any sysadmin work.
***
> TL;DR:
>
> - Enabling Message Content and Server Members Intents is crucial, as without them the bot cannot read messages or access server member data, rendering AI features useless.
> - Using the correct invite URL with the bot, applications.commands scopes, and least-privilege permissions like View Channels, Send Messages, and Read Message History ensures proper server access and minimizes security risks.
> - Pairing the bot with an AI runtime requires extracting the bot token, running or configuring the gateway, then approving a short-lived pairing code from a direct message to establish a secure connection.
> - Avoid granting Administrator permissions to prevent security vulnerabilities, and instead, restrict the bot’s permissions through channel settings and structured allowlists.
> - Managed hosting solutions like ClawBase simplify long-term management by securely storing tokens, handling gateway connections, and reducing configuration errors for community or team bots.
***
Table of Contents
- Discord AI Bot Setup Checklist: The Fastest Path to a Working Bot
- How Do You Create a Discord Application and Get a Bot Token?
- How Do You Pair a Discord Bot to an AI Agent Runtime?
- Permissions and Security: Keeping Your Bot From Becoming a Liability
- Common Discord AI Bot Errors and Quick Fixes
- Configuring Your Bot for Growth Without Losing Control
- Notes From Setting Up More Than a Few of These
- Skip the Config Files With Managed OpenClaw Hosting
- Authoritative Links to Keep Open While You Set Up
- Sources
Discord AI Bot Setup Checklist: The Fastest Path to a Working Bot
Before touching code or config files, run through this checklist. It gets a bot online and responding to a direct message in one sitting, and every later section in this guide expands on a step here.
- Create the application. Go to the Discord Developer Portal, start a new application, add a bot user, and copy the bot token immediately.
- Enable the two intents that matter most. Turn on Message Content Intent and Server Members Intent under the bot's settings. Skip this and your AI assistant will connect but never see what people type.
- Build the invite link. Use the OAuth2 URL Generator with the
botandapplications.commandsscopes, and pick only the permissions your assistant actually needs. - Invite the bot to a private test server, not your main community. Turn on Developer Mode in your Discord client so you can copy Server IDs and User IDs when the runtime asks for them.
- Set the token in your runtime. Paste it into a managed dashboard, or export it as
DISCORD_BOT_TOKENif you're running something locally, then start the pairing process. - Test by DMing the bot. A working setup replies with a pairing code you approve in the agent's interface. Once approved, mention the bot in a server channel to confirm it responds there too.
That sequence mirrors what most agent connectors expect, including the Hermes Agent gateway setup, which also walks through enabling intents, generating the invite, and starting the bridge from a local Web Admin Panel. The details behind each step, especially the intents and permission choices, are where most first attempts go sideways, so the next two sections slow down and cover them properly.
How Do You Create a Discord Application and Get a Bot Token?
Everything starts in the Discord Developer Portal, the same control panel used for every bot on the platform, from simple moderation scripts to full AI assistants. Discord requires this step regardless of what runtime or AI model powers your bot, so there's no shortcut around it.
Creating the application
Log into the Developer Portal and click New Application. Name it something recognizable, since this name shows up as the bot's default username unless you change it later. You'll land on the General Information page first. Ignore most of it for now and click over to the Bot tab in the left sidebar. This is where the actual bot user gets created, separate from the application shell you just made.
Getting and protecting the token
On the Bot tab, click Reset Token. Discord will show you a long string once, and only once, so copy it before navigating away. This token is effectively the password for your bot. Anyone who has it can control your bot exactly as if they had the login credentials, sending messages, reading channels, and acting under its identity across every server it belongs to.

Treat the token as a secret from the moment you generate it. Store it as an environment variable (DISCORD_BOT_TOKEN) if you're running code locally, or paste it into a managed dashboard's encrypted settings field if you're using a hosted service. Never commit it to a public GitHub repository, paste it into a Discord channel, or hardcode it directly into a script you might share later. Discord's own guidance treats bot tokens as secrets that require the same handling as an API key or database password.
Enabling privileged intents
Scroll down on the Bot tab to Privileged Gateway Intents. You'll see three toggles: Presence Intent, Server Members Intent, and Message Content Intent. For an AI assistant that reads and responds to messages, two of these matter:
- Message Content Intent lets your bot actually read the text of messages sent in channels it can see. Without it, your bot receives notification that a message happened but not what it says, which makes any AI-driven reply feature useless.
- Server Members Intent gives your bot visibility into the server's member list, which most allowlist and role-based permission logic depends on.
Skip either toggle and you'll spend twenty minutes later wondering why your assistant looks online but says nothing back. If Message Content Intent gets rejected or you'd rather not enable it (some verified bots at scale need Discord's approval), OpenClaw and similar runtimes can fall back to mention-only behavior, responding only when directly tagged in a message rather than reading every line of chat.
Building the OAuth2 invite URL
Head to the OAuth2 tab, then URL Generator. Check two scopes: bot and applications.commands. The first lets the bot join servers and act as a member; the second lets it register slash commands, which most AI assistants use for structured actions.
Below the scopes, you'll see a long list of permission checkboxes. This is where the principle of least privilege matters most. For a standard chat-focused AI bot, three permissions cover nearly everything:
- View Channels, so it can see where messages are happening
- Send Messages, so it can reply
- Read Message History, so it has context for ongoing conversations
If your community uses threads heavily, add Send Messages in Threads as well, or your bot will go quiet the moment a conversation moves into one. Discord's OAuth2 and permissions documentation confirms this scope-and-permission combination is exactly how the platform grants server access, and it explicitly recommends requesting only what a bot's functions require.
Once you've checked your scopes and permissions, Discord generates a URL at the bottom of the page. Copy it.
Inviting the bot and enabling Developer Mode
Paste that URL into your browser, choose your test server from the dropdown, and authorize it. Your bot should now appear in the member list, likely showing offline until you complete the pairing step in the next section.
Before moving on, turn on Developer Mode in your own Discord client: User Settings → Advanced → Developer Mode. This adds a "Copy ID" option when you right-click servers, channels, or users, which most agent runtimes need during pairing to confirm exactly which server and account they're connecting to.
How Do You Pair a Discord Bot to an AI Agent Runtime?
Getting the bot invited is only half the job. It sits in your server looking inert until something on the other end, an AI agent runtime, claims that token and starts listening through Discord's gateway.
If you're using managed hosting, this step is close to instant: paste the bot token into the dashboard's Discord connector field, click connect, and the platform handles the gateway connection, restarts, and secret storage for you. This is the model ClawBase uses for OpenClaw deployments, and it's the fastest route for anyone who'd rather not touch a config file.
If you're running OpenClaw locally or on your own server, the process looks like this:
- Create a config patch file, typically named something like
discord.patch.json5, settingchannels.discord.tokento your bot token. - Apply it with
openclaw config patch, which merges your settings into the agent's live configuration. - Start or install the gateway connection with
openclaw gateway start(or the install variant if this is a fresh setup). - Watch the terminal output. A successful connection logs the bot as online and ready to receive gateway events.
Pairing itself follows the same pattern across most runtimes, including OpenClaw and the Hermes Agent connector. Once the gateway is live, DM the bot directly from your Discord account. It responds with a short pairing code. Take that code into the agent's UI or CLI and approve it there, which links your specific Discord user ID to the agent session. That code typically expires within a short window, so approve it promptly rather than letting it sit.
The OpenClaw Discord integration documentation notes that pairing specifically requires three identifiers: the bot token, the Server ID, and the User ID, which is exactly why enabling Developer Mode earlier in this guide matters.
If you're running multiple bots or managing several Discord accounts under one agent setup, keep each token and its associated applicationId under a named account entry (channels.discord.accounts.) rather than reusing default settings. Skipping this is a common source of confusion when a second bot starts behaving like the first one, or vice versa.
Permissions and Security: Keeping Your Bot From Becoming a Liability
The single most damaging mistake in Discord bot setup is granting the Administrator permission out of convenience. Never do it. An Administrator bot bypasses every channel-level restriction on your server, and if its token ever leaks, whoever has it now controls your server completely, not just the channels you meant to expose.

Request only what your bot's actual functions require. A chat-focused AI assistant rarely needs more than View Channels, Send Messages, and Read Message History. Building outward from that minimal set, rather than starting broad and trying to restrict later, keeps your exposure small by default.
A few practical habits reinforce that baseline:
- Use channel-level permission overwrites to block the bot from sensitive channels even if its role technically has server-wide send access.
- Position the bot's role carefully in your role hierarchy; a bot role placed too high can inherit more effective permissions than you intended.
- Layer an agent-side allowlist and
requireMentionsetting on top of Discord's own permissions. Even with full technical access to a channel, the bot simply won't respond unless it's tagged or the channel is on its approved list, which is effective belt-and-suspenders practice against accidental replies. - If you ever suspect a token has leaked, reset it immediately from the Bot tab. The old token stops working the instant you do, and you'll need to update it wherever it's stored.
The Discord permissions calculator is worth bookmarking if you want to double-check exactly what a given permission combination allows before you generate your invite URL.
Pro Tip: *Store your bot token in a password manager the same way you'd store a database credential, not in a plain text file on your desktop. If you're using managed hosting, this problem disappears entirely since the token never leaves an encrypted dashboard field.*
Common Discord AI Bot Errors and Quick Fixes
Most setup problems trace back to one of five causes, and each has a fast fix.
- Bot missing from the server or showing offline permanently: Regenerate your invite URL and confirm it included the
botscope and at least View Channels. A bot that never appears usually means the invite itself was incomplete. - Bot online but silent: This is almost always Message Content Intent, either not enabled in the Developer Portal or not matched by a
requireMentionsetting on the agent side. Check both. - Token authentication failures: Confirm your environment variable name matches exactly what your runtime expects (
DISCORD_BOT_TOKENis the common default), and check gateway logs for the specific rejection reason. - Permission errors in threads or voice channels: Add Send Messages in Threads if your community uses them, or Connect and Speak if you're building voice functionality.
- Rate-limit or gateway disconnect messages in logs: These usually resolve on their own as Discord's gateway reconnects, but frequent recurrence often means too many API calls in a short window, worth reviewing if your bot handles high message volume.
Configuring Your Bot for Growth Without Losing Control
A private test server is the right home for your bot during setup and for as long as you're iterating on its behavior. Moving it into your main community should be a deliberate decision, not a default next step.
Once you're ready to expand access, a few configuration choices shape how the bot behaves day to day:
- Group policy settings typically offer pairing, allowlist, or open modes, each trading convenience for control. Pairing is tightest; open is the most exposed.
- Allowlists with
requireMentionlet you name specific users, roles, or channels the bot listens to, which keeps it from becoming background noise in busy servers. - Per-channel session contexts matter if you want the bot to treat conversations in different channels as separate threads of memory rather than one continuous chat.
- Watch your API usage as adoption grows. More active channels mean more model calls, and that's exactly where managed hosting earns its keep, since uptime and model routing become someone else's problem instead of yours.
Notes From Setting Up More Than a Few of These
The mistake I see most often isn't a permissions error or a bad invite URL. It's forgetting Message Content Intent entirely, then spending twenty minutes assuming the bot token is wrong when the bot was actually working fine, just deaf. If your bot connects, shows online, and still says nothing, that toggle is the first place to look, every time.
My honest recommendation for testing: don't invite a new bot into your live community on day one. Spin up a throwaway private server, invite it there, set an allowlist with exactly one test user (you), and confirm behavior before it ever sees a real channel. That single habit catches almost every configuration mistake before it becomes visible to your members.
ClawBase's beginner checklist and tutorial resources walk through this exact workflow if you want a reference to follow step by step rather than improvising it. For readers building through low-code platforms instead of a runtime like OpenClaw, Kreante's guide to building AI agents in Bubble is a solid parallel path worth knowing about.
> *— Iosif Peterfi*
Skip the Config Files With Managed OpenClaw Hosting
If the Developer Portal steps above sound fine but the token storage, gateway commands, and config patches feel like more than you want to manage long term, that's exactly the gap ClawBase fills.
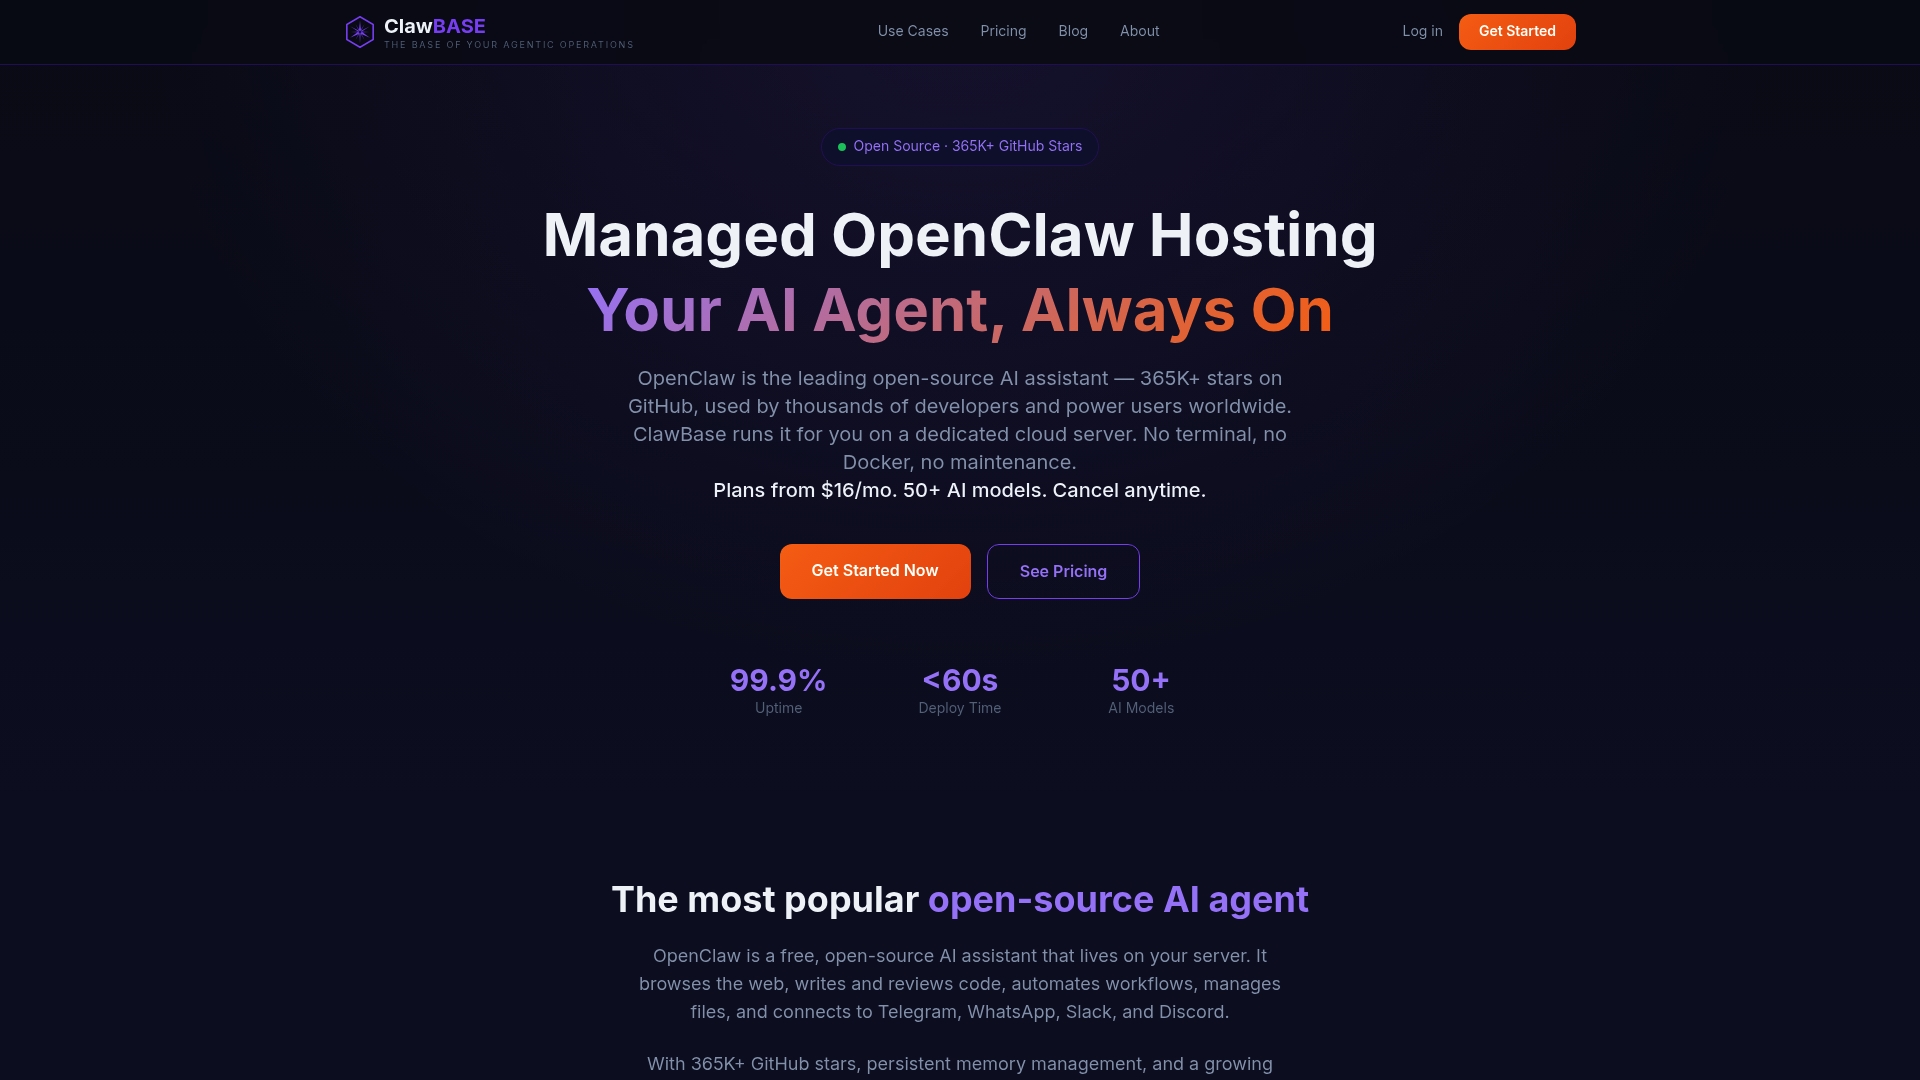
You paste your Discord bot token into a secured dashboard field once, ClawBase handles the gateway connection and keeps it alive, and your assistant stays online whether you're actively managing it or not. That matters most for admins running community servers who want a dependable AI presence without babysitting a local process, and for teams who'd rather spend time on what the bot does than how it stays connected. Browse what a connected agent can actually handle on the OpenClaw use cases page, then start your setup directly on the ClawBase hosting page with a 7-day free trial on the entry plan.
Authoritative Links to Keep Open While You Set Up
- Discord Developer Portal quick start
- OAuth2 and permissions documentation
- OpenClaw Discord integration docs
- Getting started with ClawBase in 5 minutes
Sources
- Getting started — Discord Developer Portal
- OAuth2 and permissions — Discord Developer Docs
- OpenClaw Discord integration docs
- Connect Hermes Agent to Discord: Step-by-Step Gateway Setup — DEV Community